

Let’s navigate through the website together. I will be showing you Step-By-Step on How to
Make Your Own Logo. As if I was a new customer and will be adding examples along

the way. So let’s start
and begin our logo making together.
Step 1: On the HOME page of logomyway. The signup and login link are on the top
right corner. You can start without signing up or logging in but you will have to once you
have finished creating your logo. At the bottom of the site, there is an FAQ that can
answer some questions you may have. Make sure you read over the Home Page to
know what you are getting and what the website does. When you are ready to start you
can input your desired logo name. There is an area on the top and bottom of the page.
After you have picked your name. Click on START NOW! Right below there is a link to
Customer Reviews. That will take you to another page on what others have said about
the website and the
creators.
Example: NL Inc.
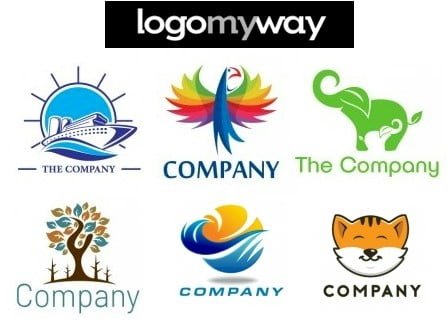
Step 2: Next page, you will see many different logos with the name you entered. On the
top left side of the page, you can see what name you have picked and an area where
you can enter your slogan. On the top right side, you will find a drop-down and search
bar. Here you can pick the desired category and/or search for one. It will then search for
your needs and it will add the logo name with the slogan.
Example: Planting A Solid Foundation is my slogan and I looked up Nature in the
down-drop bar.
Step 3: Time for the FUN part. Pondering and looked through over a hundred logos.
Once you found your “Diamond in the Rough.” Click on it.
Example: Green Tree with spirals.
Step 4: Hurray you picked a logo! Bring out the Champagne! Here you will be taken to
the basic and simple editing software. Now, you can edit the logo any way you please. If
you are not happy with the photo of your logo. You can change it. To change, click on
the Logos button on the left-hand side. Then search and look through more logos and
pick a new one. You can also change the color of the logo and use gradient. You will
need to play around with the colors and tools to figure out what will be right for you.
Example: I changed my logo to another tree and picked green in gradient. Which
allowed to green to be inserted onto my logo without overpowering it.
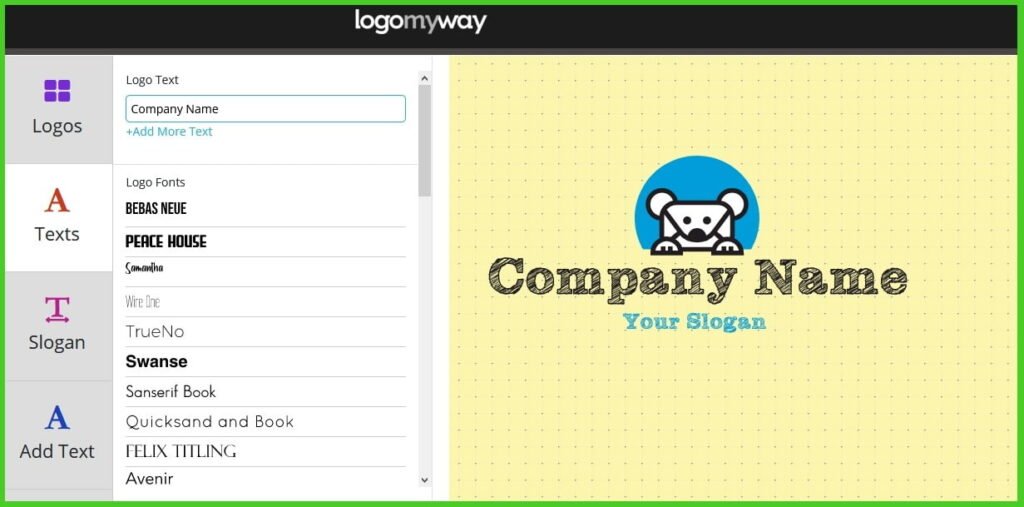
Step 5: Let’s add Text. Click on the Texts button on the left-hand side. Here, you can
change your logo name if you wish so. Underneath that area, you can add more text.
Click on the link +Add More Text. Once you are done adding your text and picking out
the font, it will appear in editing mode. Where you can resize it and move the text
around. To resize, simply click on the text and you will see a double-sided arrow on the
bottle right. Click and drag on the arrow and you can see the change in size. To move,
simply click on the text and drag it to the desired area. You can also rotate and
duplicate the text by clicking on the + for duplication and the semicircle for rotation.
Don’t forget to look through the fonts, pick the perfect one, and change the color. To
change the color just click on the text.
Example: I kept the logo and changed my font to TRUENO. I added more text. Like the
community and organization that I help. I resized it and moved it to the top of my logo.
Step 6: Slogan is the next button. Same as the Text button above it. It changes the
slogan. You can change the text, font, color, size, and where you want to put it. Simple
as that. Add Text button allows you to add as many texts as you want. Move it around,
change the font, size, and color.
Step 7: The Last button is the BG Color. Which means background color. This allows
you to change the color of the background. You can use the color wheel or pick out a
color below it. To use the color wheel, you can click and drag to find the color of your
dreams.
Step 8: Are you happy with your creation? Wonderful. Fantastic. Oh, what an amazing
work of art! Now on the top right corner look for Next Step>>Buy Logo. Push it!
Step 9: Congratulations! You have created your very own logo! Now wasn’t that easy?
On this page here, you can see a preview. If you feel that it needs a bit more work. Click
the back button. There you can still edit as much as you want. Once you are completely
satisfied click the Next Step>>Buy Logo again.
Step 10: Remember what you read in Step 1, Signing Up and Logging In? If you have
not done so, you can do it here. On the top right corner, you can sign up and/or log in.
Or hit the LOGIN IN TO DOWNLOAD LOGO button. Once you are signed up/logged in,
scroll down to the Product Samples & Useful information. You can download a sample
of your logo. Use it for social media like Facebook, Youtube, Twitter, and more. There is
helpful information on where and what can print your logo on. Business Cards, Shirts,
Mugs, Pens, and more.
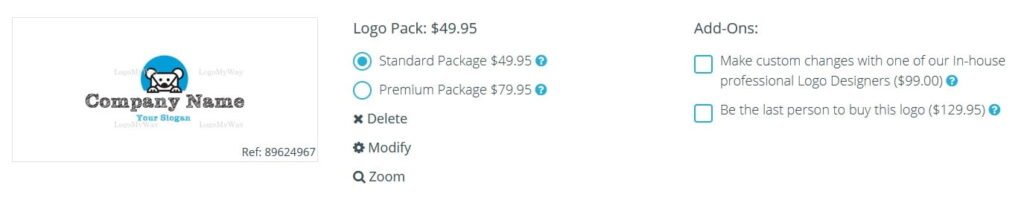
LAST STEP: Test out your sample first and see if it is to your liking. If you feel like
everything is exactly what you wanted you can click the DOWNLOAD MY LOGO to buy
your logo. You will be taken to the Logo Checkout. Here you can pick a Logo Pack and
Add-Ons.