
Crimping is an essential skill for any technician working with electrical installations, networking cables, and automotive wiring. It’s actually one of the most common processes in these industries, and it’s your responsibility to ensure a secure and well-crimped connection, as it’s necessary for the efficiency and durability of connections.
A professional crimping set helps bring everything together in a simple and effective manner, and having the right one will help you create strong connections without the need for soldering.
What is a Crimping Kit?
A crimping kit is a specialised set of tools that technicians use to create connections between wires and connectors. Instead of soldering, crimping uses pressure to fasten a connector onto a wire. It’s stronger and can also withstand different weather conditions.
A typical crimping set consists of various items:
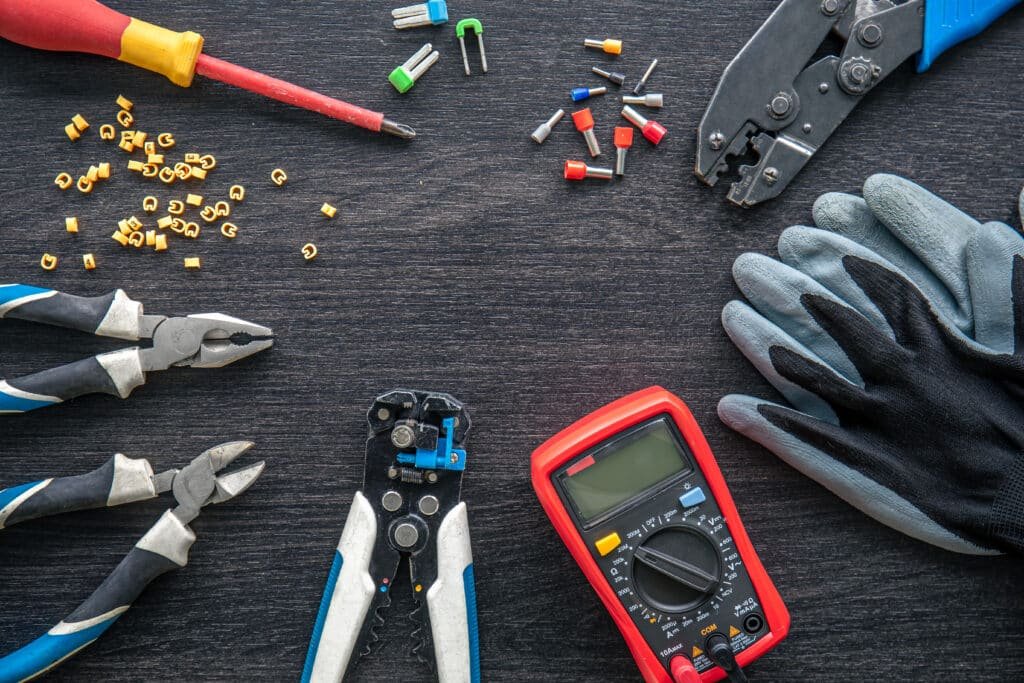
- A Crimping tool – This is the main tool used during the crimping process, and it’s the one that applies the pressure needed to cold-weld wires into a terminal.
- Assorted connectors – Crimping needs a connector, but crimping kits offer more than one type. They usually include various types and sizes, such as rings, spades, and butt splice terminals.
- Extra items (optional) – Some manufacturers also offer kits with additional items that may not necessarily be intended for crimping. Some are wire strippers, labelling materials, screwdrivers, and a carrying case.
These kits are widely used in electrical work, automotive wiring, telecommunications, and networking.
How to Use a Crimping Kit
Using a crimping kit is a simple process, and the end result is a strong connection that doesn’t loosen over time.
- Prepare the wire – First, you need to strip a small section of insulation from the wire. This is the part that will go into the connector.
- Select the right connector – A crimping set offers lots of different connectors, so ensure you choose the right one. Consider the type of wire, the use, and the environmental conditions.
- Insert the crimping connector – Now, insert your connector into the crimping tool for holding.
- Insert the wire – You can then insert the wire into the connector.
- Crimp the connection – Use the crimping tool to apply even pressure, which should permanently attach the wire to the connector.
After that, you should ensure that your connection is actually secure. Give it a slight tug to confirm the wire was well inside the connector when you crimped.
Choosing the Right Crimping Kit
There are lots of different crimping tools in the market, but you shouldn’t just pick one. If you select yours well, you’ll have ensured that it fits the different types of jobs you do and improves the quality of your work.
Here’s what to consider when choosing one:
- The type of work: Crimping kits vary depending on the job. So, are you an electrical engineer, a networking engineer, or an automotive engineer? Choose a kit that fits your industry and your specific speciality.
- Connector compatibility: Crimping kits offer a wide variety of connectors, from spade connectors to butt splices. There are also some speciality ones that vary with the type of job, and it’s important to ensure your kit includes all connectors you work with. On top of that, ensure you have both insulated and non-insulated versions.
- Crimping tool quality: These come in different designs and qualities. Ensure you choose one that’s high-quality and comfortable to work with. Adjustable pressure is also a good consideration.
- Wire gauge support: Crimping kits come with different die sizes, so ensure yours covers the range of wire gauges you often use.
By choosing the right kit, you’ll be set to create strong and reliable connections for any project, whether you are working on small repairs or large-scale installations.